
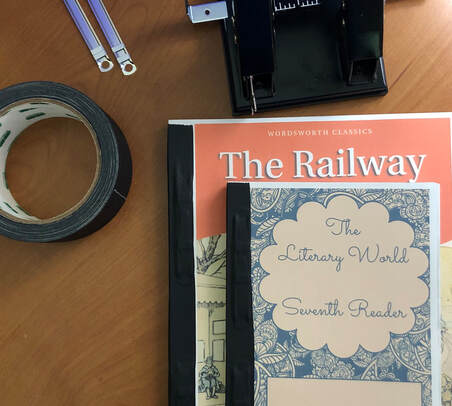
 “One more thing is of vital importance; children must have books, living books; the best are not too good for them; anything less than the best is not good enough; and if it is needful to exercise economy, let go everything that belongs to soft and luxurious living before letting go the duty of supplying the books, and the frequent changes of books, which are necessary for the constant stimulation of the child's intellectual life.” Miss Mason understood that it may be "needful to exercise economy" when supplying our children with All The Books. It is with this same belief that I'd like to share with you an economical way to make those wonderful public domain books reader-friendly and durable additions to your home library. No doubt there are as many wonderful ideas for how to bind books available as there are wonderful books to bind. I have tried some more time-consuming book-binding techniques (though I no longer have time for carpentry), as well as some less-durable methods (I now believe that books just aren't meant to be read from a 3-ring binder). The following process has become my favorite. I'm giving the credit for the idea as it's presented here to my sister, Karly, and she gives the credit to another book-loving mom for sharing it with her ... we're just continuing to pass the idea along for others to enjoy and make their own. The whole process took about 5-minutes (shown here in 30 seconds): <insert video after upgrading> "The Railway Children" is on AmblesideOnline's free read list for Year 4. (For the cover, I searched online for a cover page that I liked and printed it onto cardstock When printing at home, if possible, use 24lb or 28lb paper. Standard 20lb weight will work, but may not hold up as long, and is more see-through when printing double-sided. Another consideration when printing is to make sure the binding margin is offset enough so as not to obscure the text when bound. That would be really frustrating. For choosing books to print, AmblesideOnline is an invaluable resource:
After you've chosen and printed your book, you may want to use cardstock to make a sturdy front and back cover. I like to use Canva.com to design these. <insert photo of books> For the tools, these are the products that my sister recommended and that I used:
Using the 2-hole punch, punch a set of holes at the top part of the spine, using the ruler adjustment to keep it even. Flip the sheets and repeat on the bottom side of the spine. Keep doing this in sections until your whole book is punched. Next, stack up the sheets nicely, giving it a quick flip-through to make sure no pages are upside-down or anything. Install two 2-prong fasteners into the holes on the spine. Then, you can roughly measure the tape length, tear it (or cut it), and place it over the spine, covering the prong fasteners. I have heard you can use two overlapping strips if your book is thicker; there is also 3-inch book binding tape if you were to need something wider. That's it. ☺ Now, let's get on with our duty of "supplying the books, and the frequent changes of books, which are necessary for the constant stimulation of the child's intellectual life" !
0 Comments
Your comment will be posted after it is approved.
Leave a Reply. |
Archives
August 2020
Categories
|
 RSS Feed